More old tech, more blog posts. This time about a Thinkpad 220. No, not the X220, the 220. A 1993 vintage, Japan only, ultra compact Thinkpad! There is not much online about these so let’s fix that!

I saw one of these laptops for sale, untested, on Marktplaats. A Dutch Ebay so to say. It was looking a little rough but the fact that this laptop popped up at all was amazing, and luckily my offer got accepted. So a few days later I was greeted with a dirty laptop. No adapter or anything, just a laptop.
Luckily, powering this laptop is oddly easy. It just takes some AAs
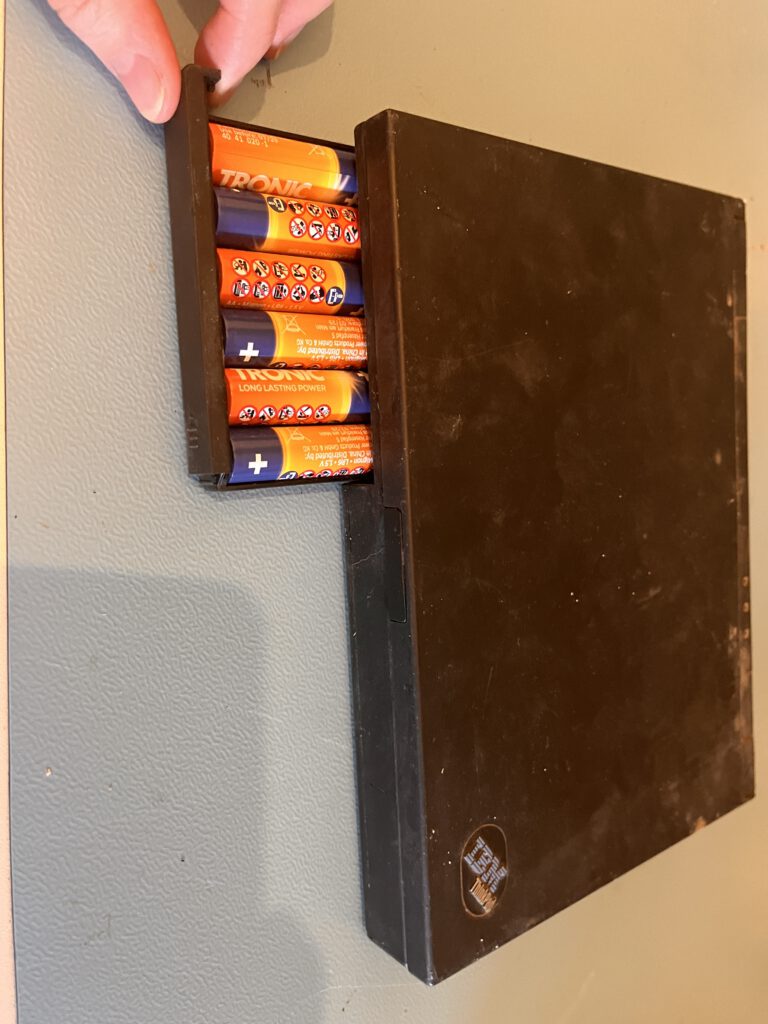
Oh yes. Just stuff some AAs in it. I like it! Now, just alkaline AAs work, sadly there is no support for rechargables.
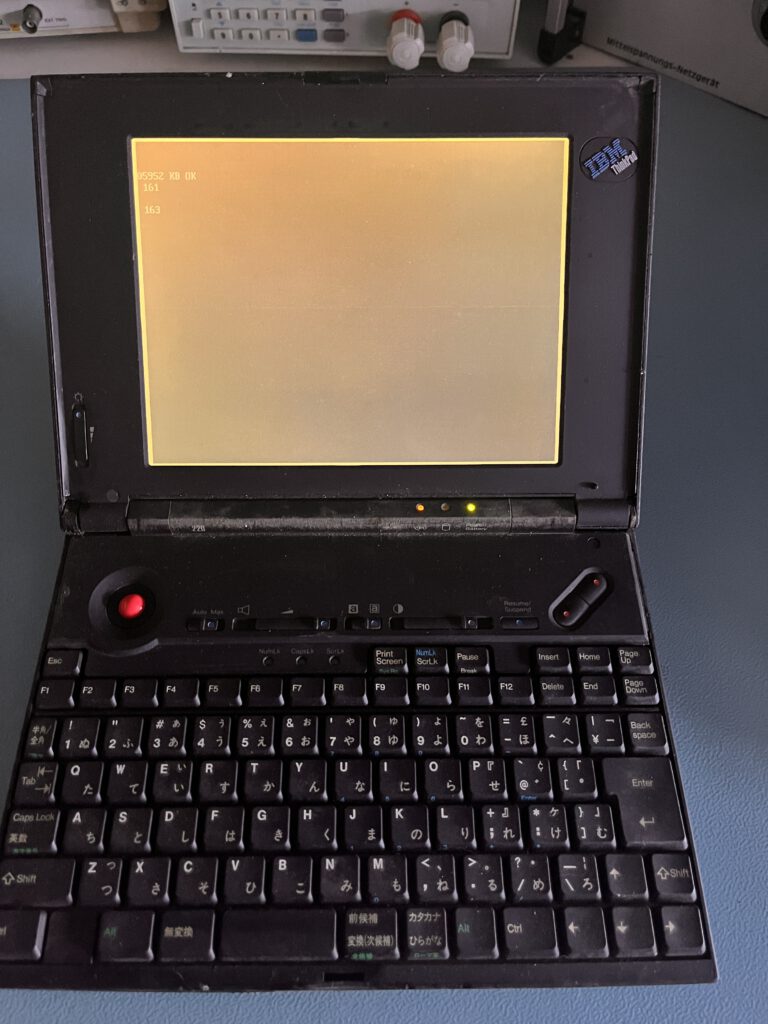
And it just works. Huh. Well there are a few errors related to an empty cmos battery, which is not surprising at all. So, it just needs a clean! Which means a full disassembly.
Which there is zero info about online.
Guess why I am typing this blog :)
First, some history
This Thinkpad was launched in 1993, and it was made by IBM and Ricoh, just like the more known PC 110. That laptop is is even smaller but has a cramped keyboard and made a few years later. Like the PC 110, this was only sold in Japan. They really like their small computers over there!
Specs wise, you’d get an Intel 386, 2 to 6MB RAM and an 80MB HDD. This all in a 1KG package, less then even most modern laptops! The screen is 640*480 monochrome and has some backlight.
The 220 initially was a 10th year anniversary addition for the IBM 5550 and apparently IBM made 5550 of them and they where popular enough they ended up selling 20.000! These where sold for around 200.00 yen in 1993, which is around 230.00 yen today, as the inflation in Japan is quite low. That’s still around 1500 USD today!
A peek underneath
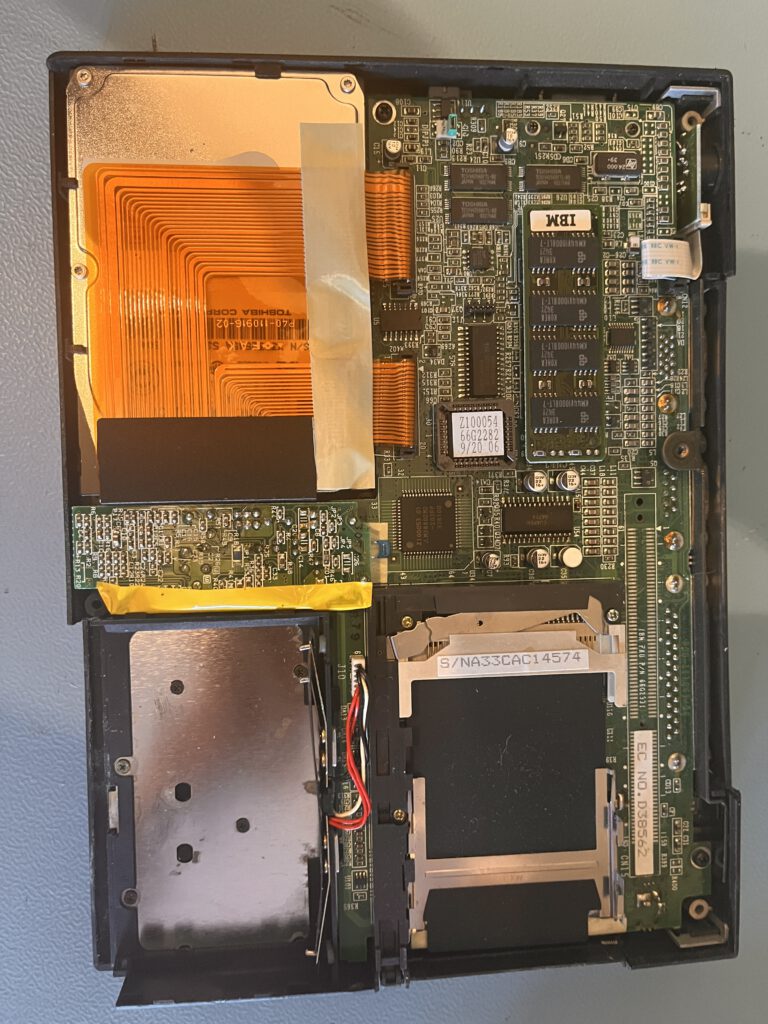
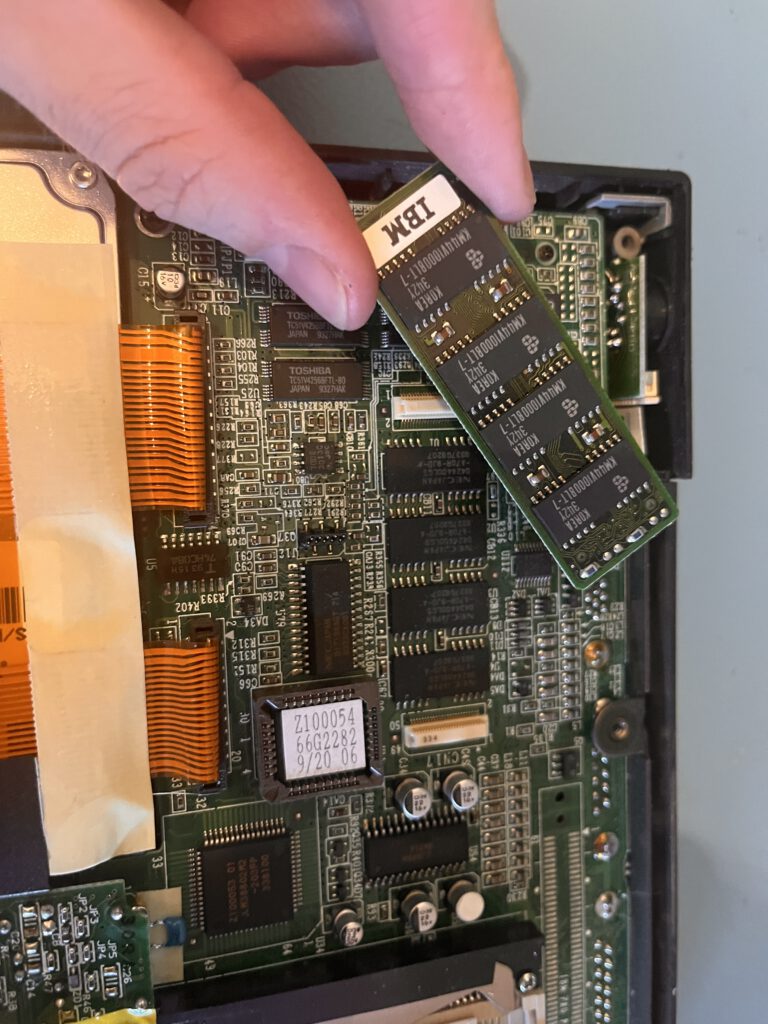
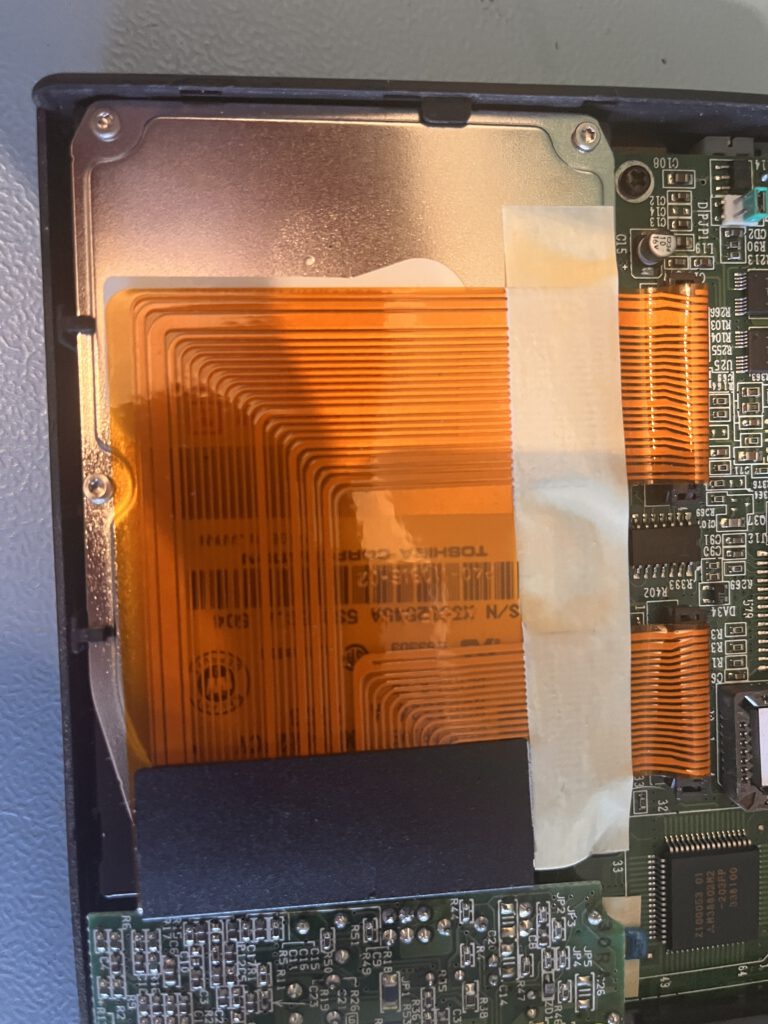
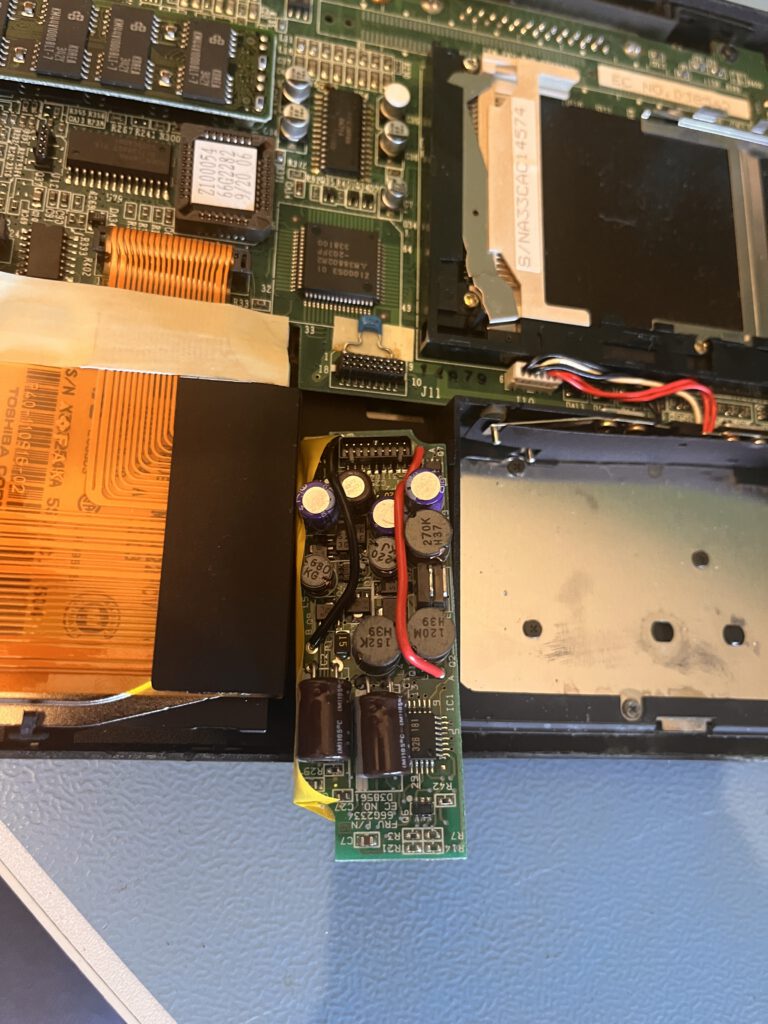
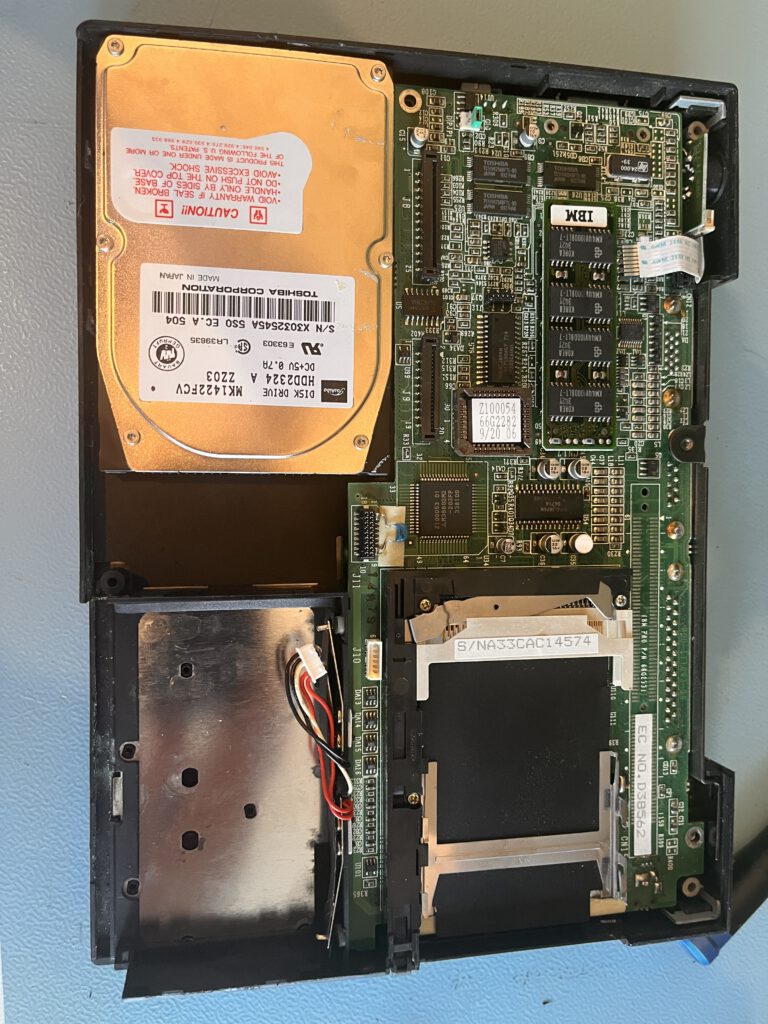
After removing the battery pack, the bottom comes off with a few screws. And there is a few fun things under here. First of all, upgradable memory! There is 2MB on the motherboard, but the optional module can extend it up to 6MB. On my machine it’s maxed out. And there is a power supply module kinda just plugged in there. Let’s remove those two things for now.
After removing the big ribbon cable, the HDD can be seen but cannot be accessed from the bottom. It’s screwed in from, it appears like, the top. So let’s soldier on and disassemble it more.
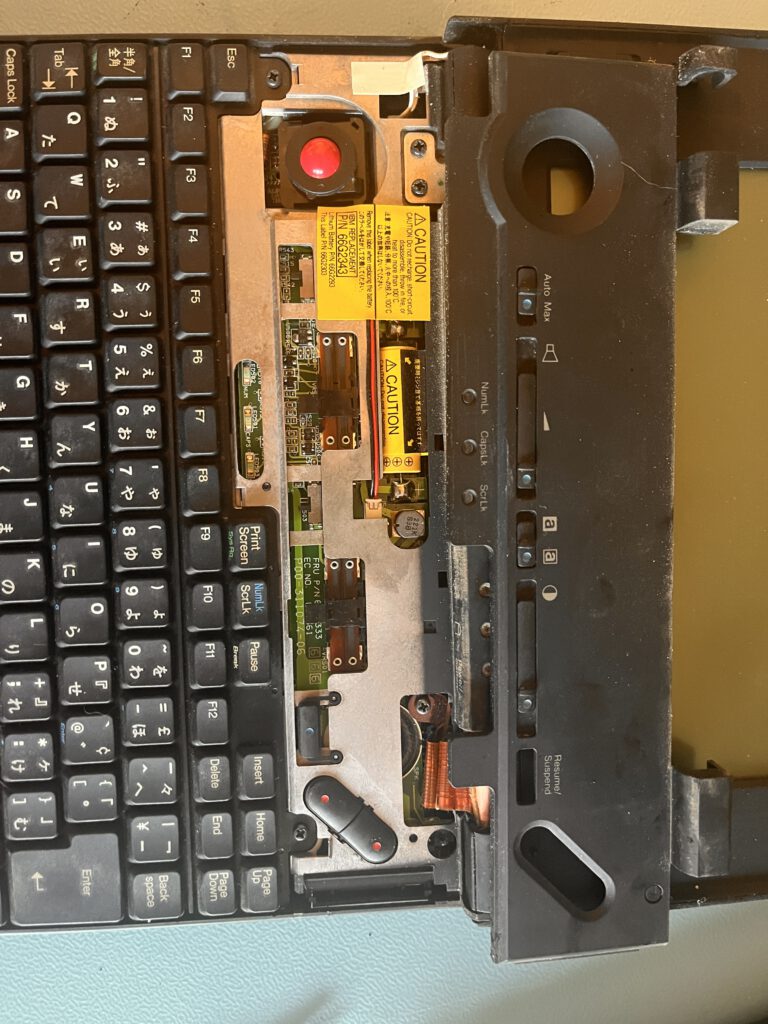
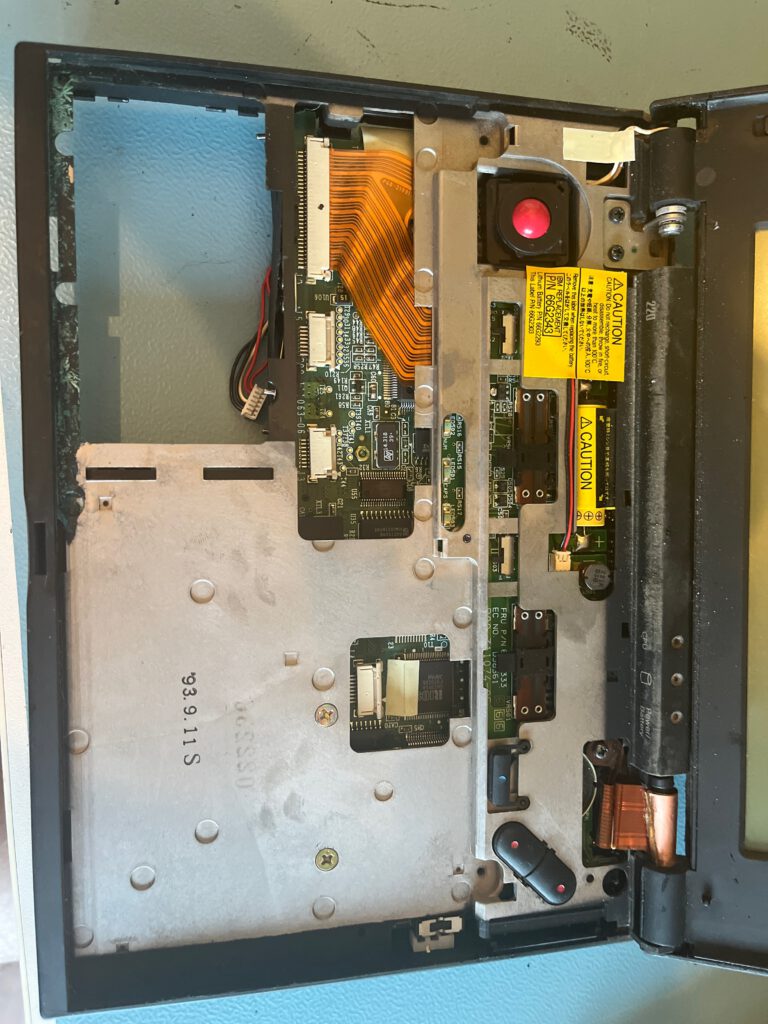
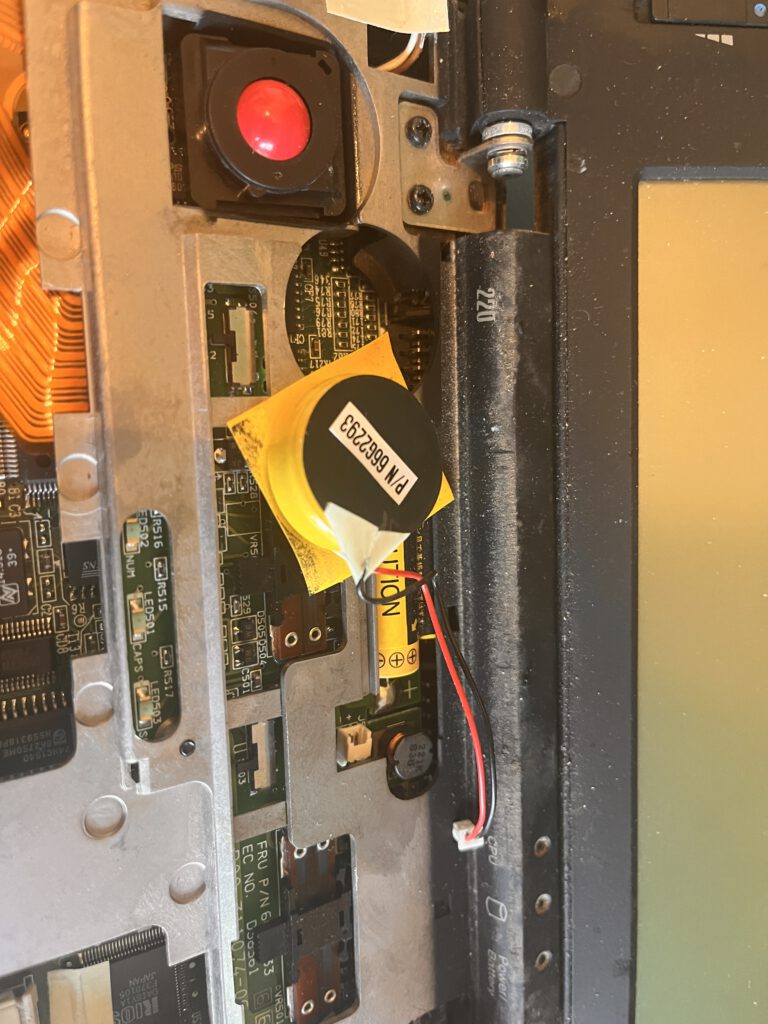
After all screws are removed from the bottom side. the top plastic can carefully be popped off. 2 more screws and the keyboard can be removed. And after all this, finally, the HDD can be removed! Now, for a full disassemble, a few more parts need to come out.
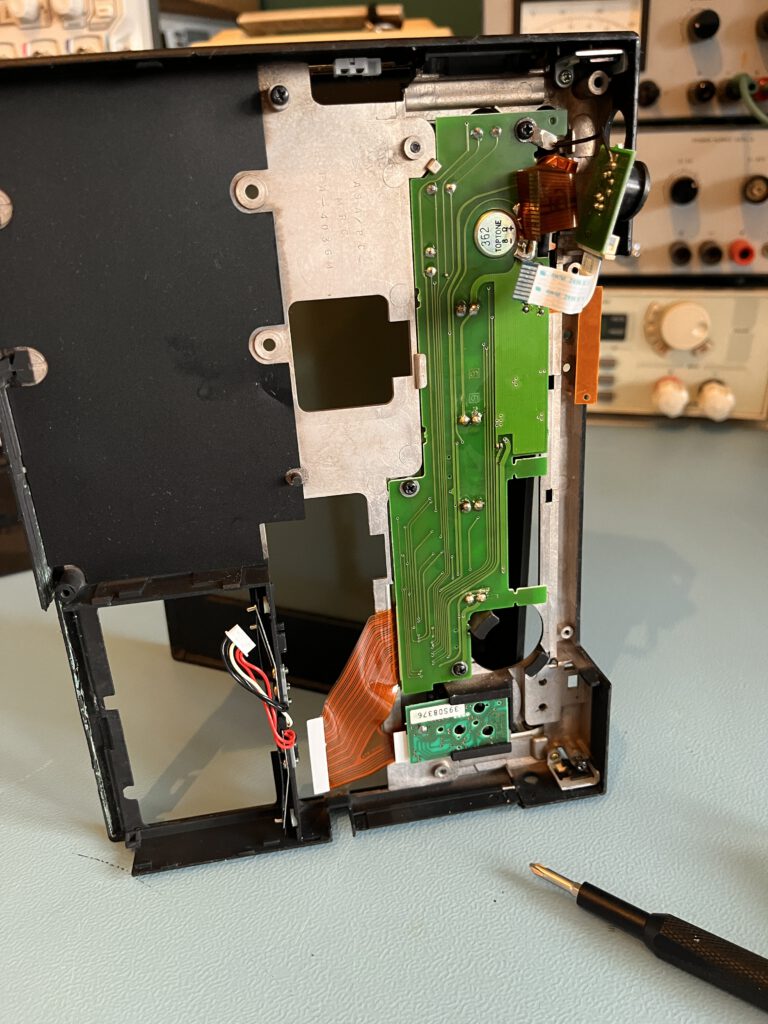
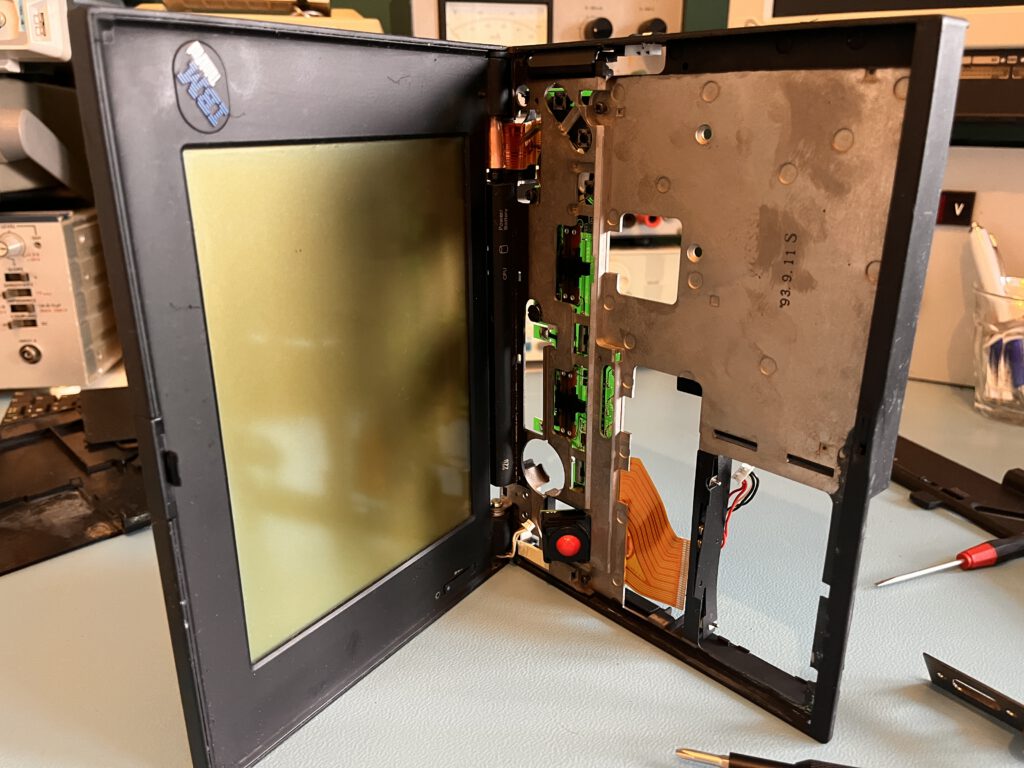
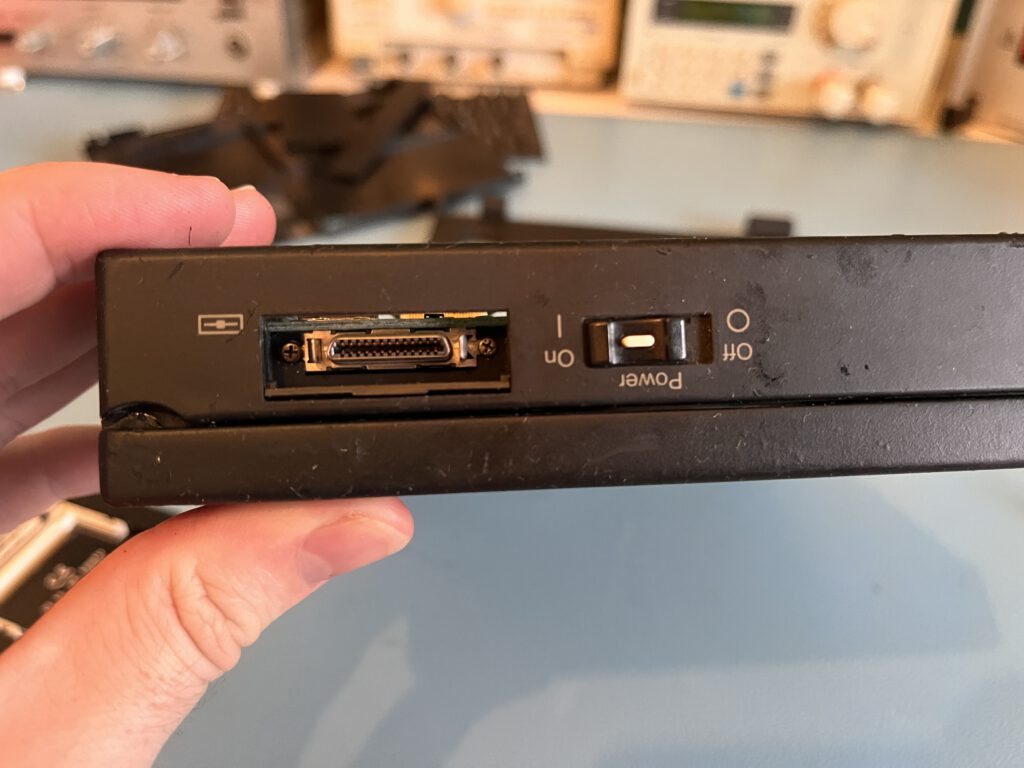
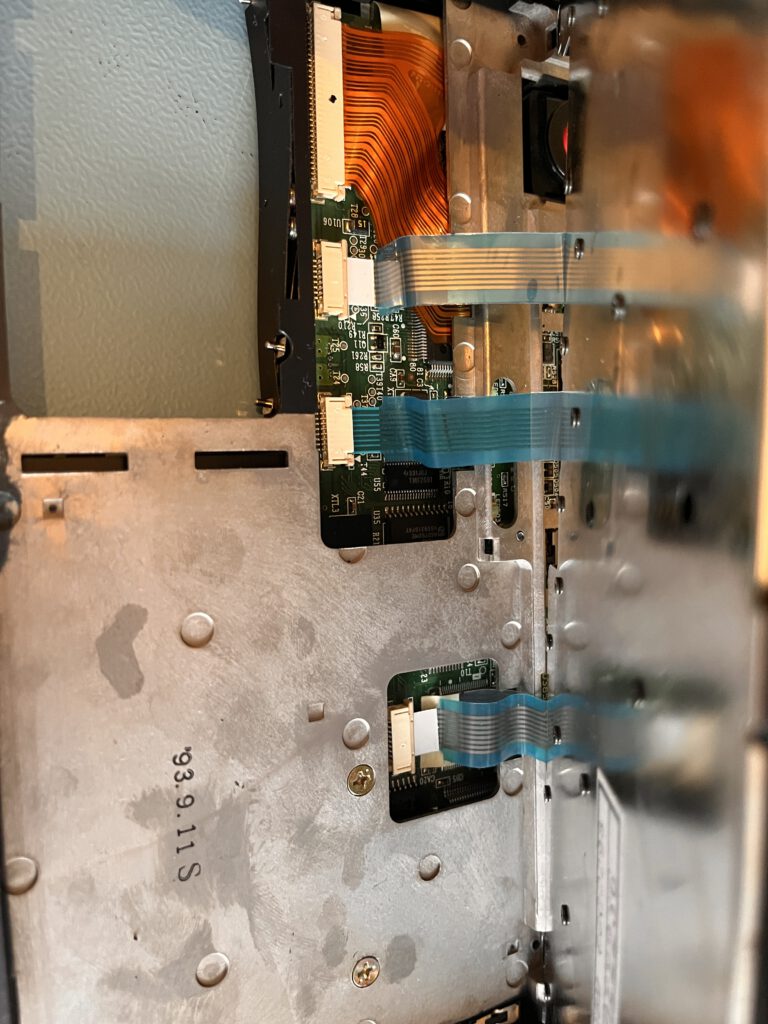
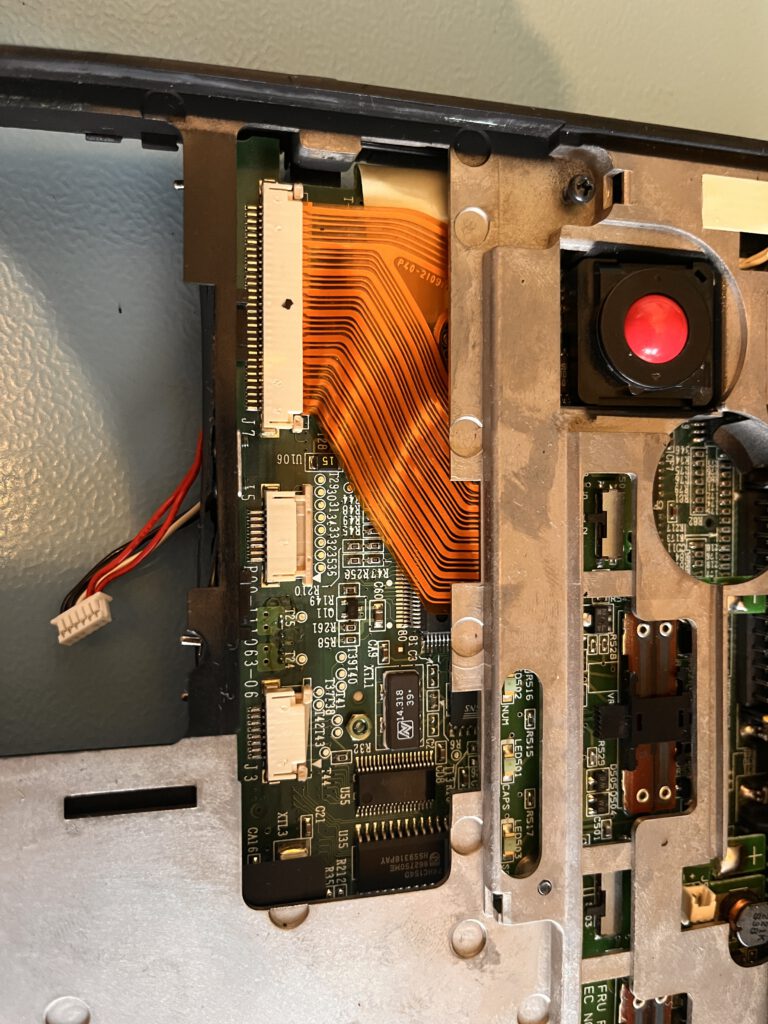
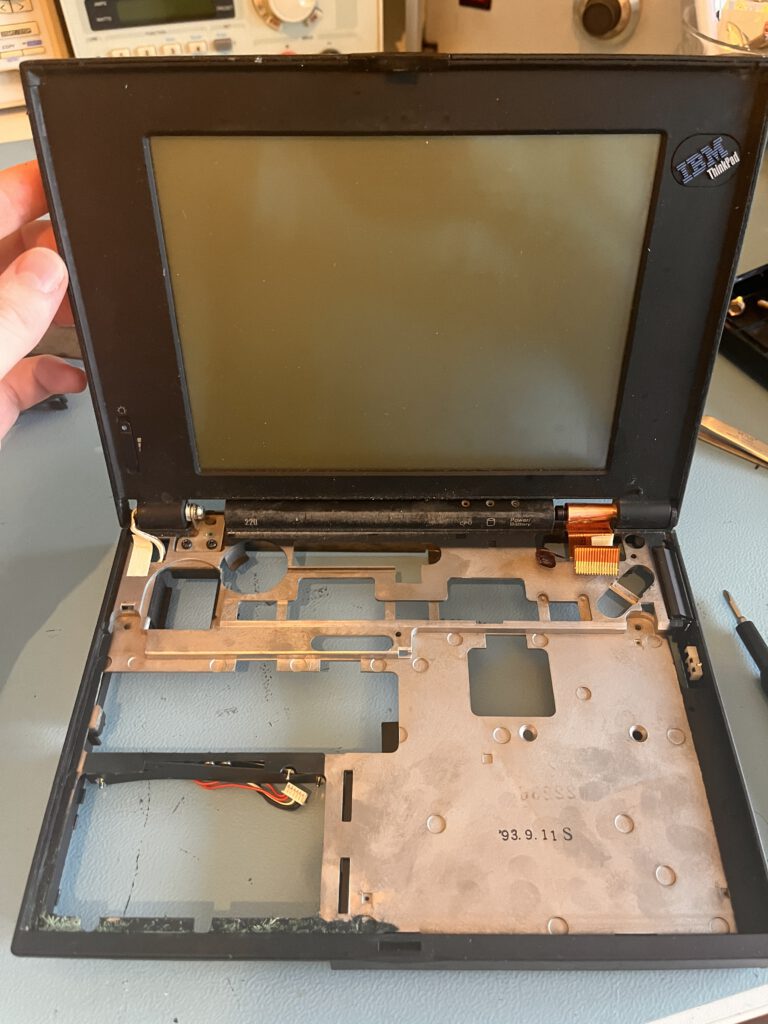
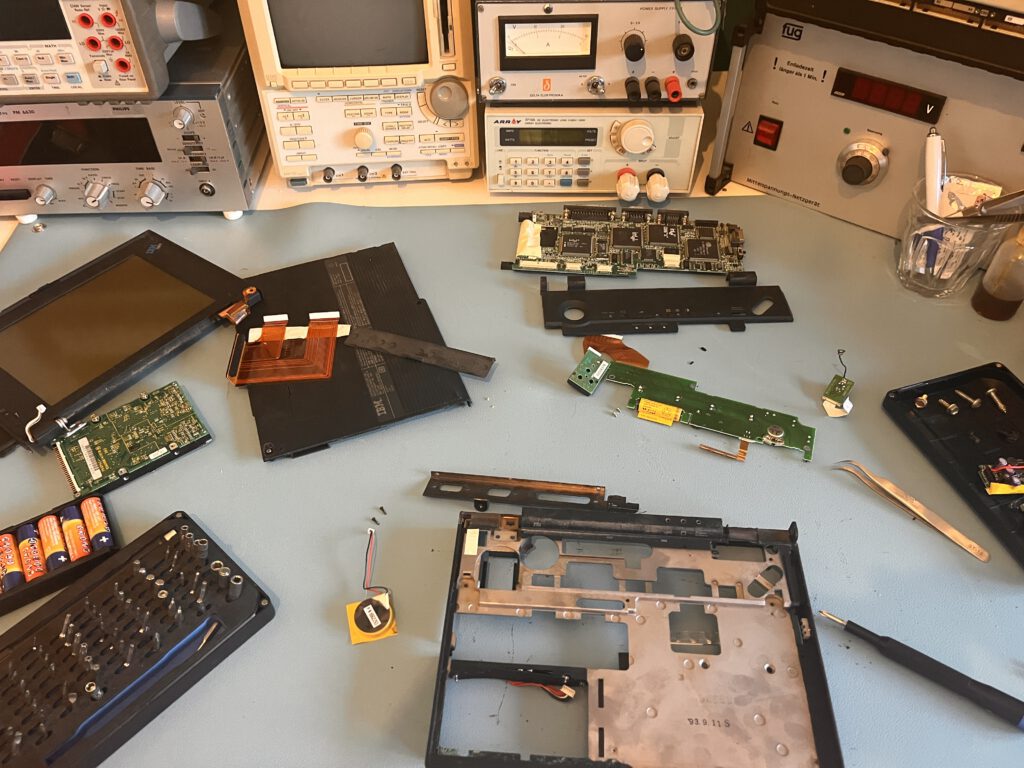
And there we go. There is a small PCB on the bottom for all the miscellaneous parts, trackball, speaker, leds and all that. This also contains a small rechargeable li-ion, which is very dead by now. It’s used for suspend to ram but the machine works fine without. I decided to remove it before it can leak. A small gotcha is in the floppy connector, it has 2 screws. I missed those at first and could not get the motherboard out!
Time for a clean
With everything apart, cleaning this machine is pretty easy! I tend to clean mostly with a degreaser, warm water and patience. The plastic on older Thinkpads can get sticky sometimes, but this one seems fine so far luckily!
After that, it’s just reassembling, carefully, and there we go, a nice and clean machine!
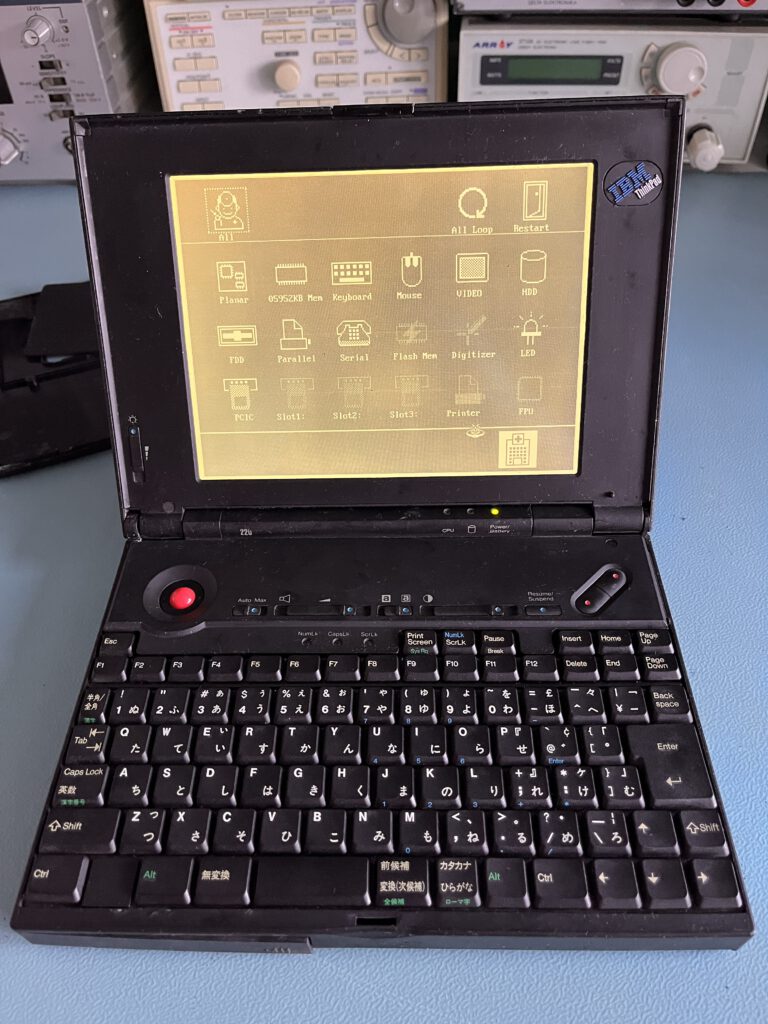
Perhaps this will help someone in the future, as these laptops seem quite rare and hard to find info about. And as always, welcome yo buy me a coffee!


So, what do you think ?