I gotten yet another odd piece of electronic test equipment. This time something that seems to be an early storage oscilloscope. It looked very interesting as it has more buttons then I have seen on a scope yet, so I had to pick it up (I swear I don’t have a problem :) )
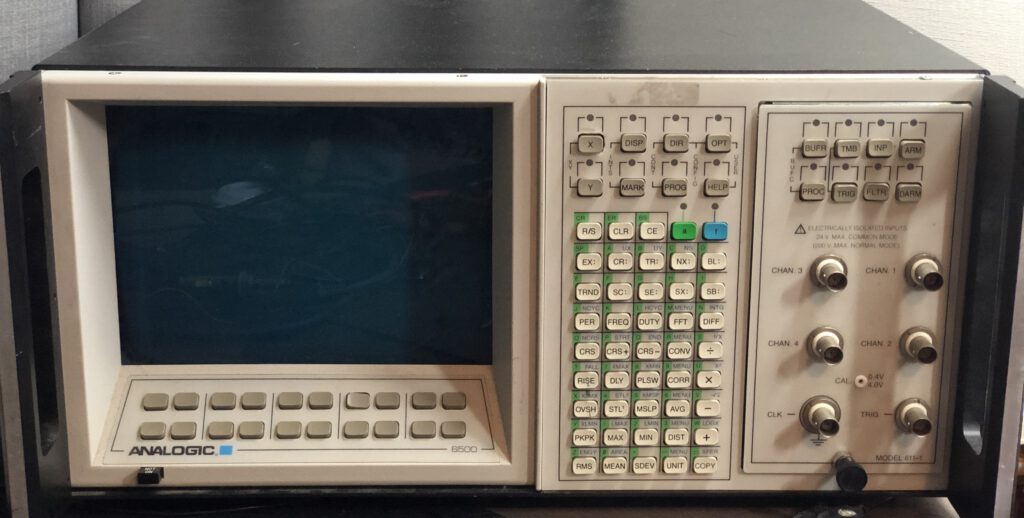
I couldn’t find much information online about it. No user manuals, let alone a service manual. I did find a little bit of information calling it a universal waveform analyzer. So let’s see what it is, how to use it and what’s inside. Warning, this blog post is a bit picture heavy!
A look inside
When I got the scope, I first opened it up and had a look inside to see if there was anything obviously faulty. Opening it up showed me a very pretty and well build machine, that was build up nice and modular.
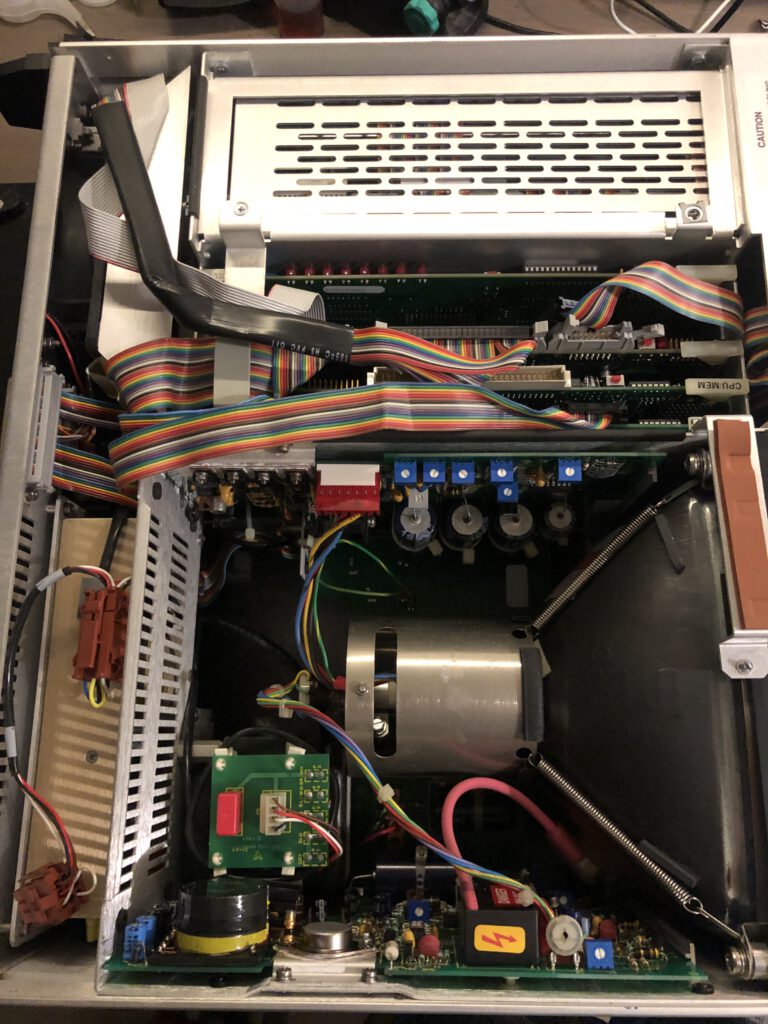
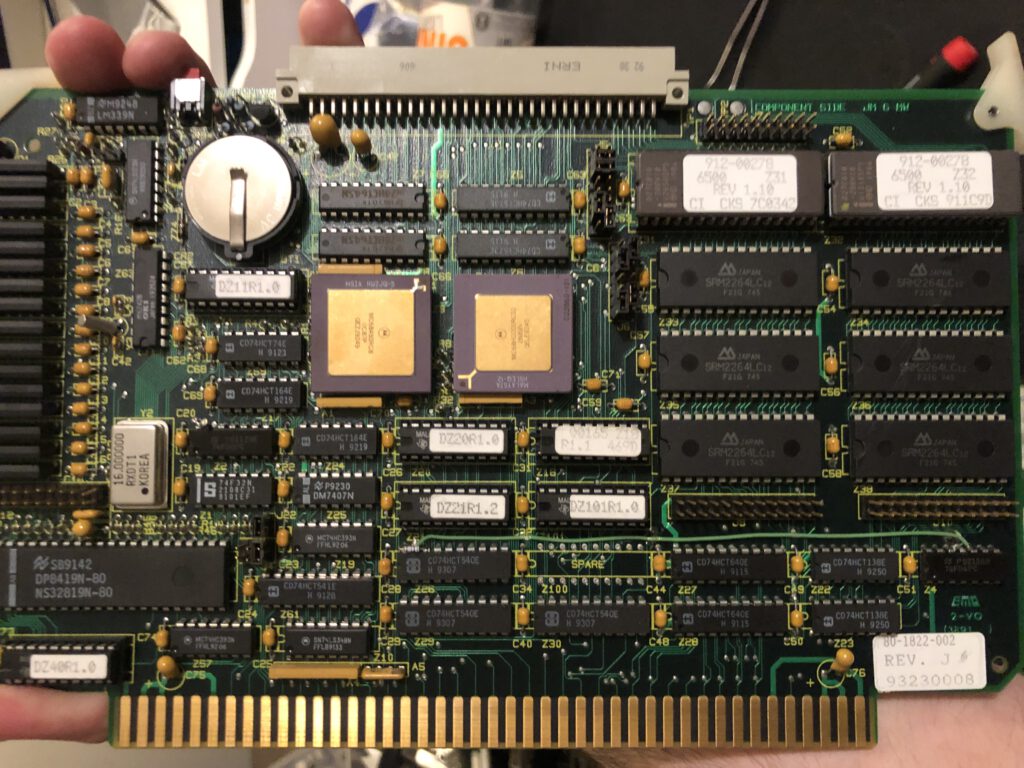
It seems there is a power supply section, CRT control section, CPU + memory board and two unlisted ones. I took some of the cards out and found the CPU card contains my good old friend the 68K. The battery was empty but easy to replace. No leaking battery at least so that’s a good start.
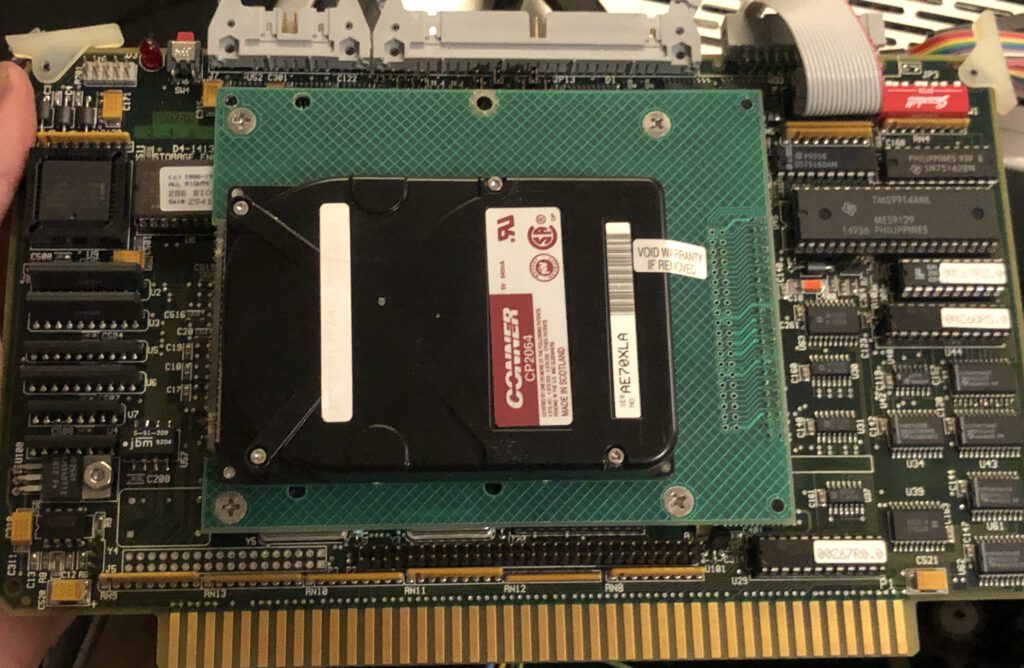
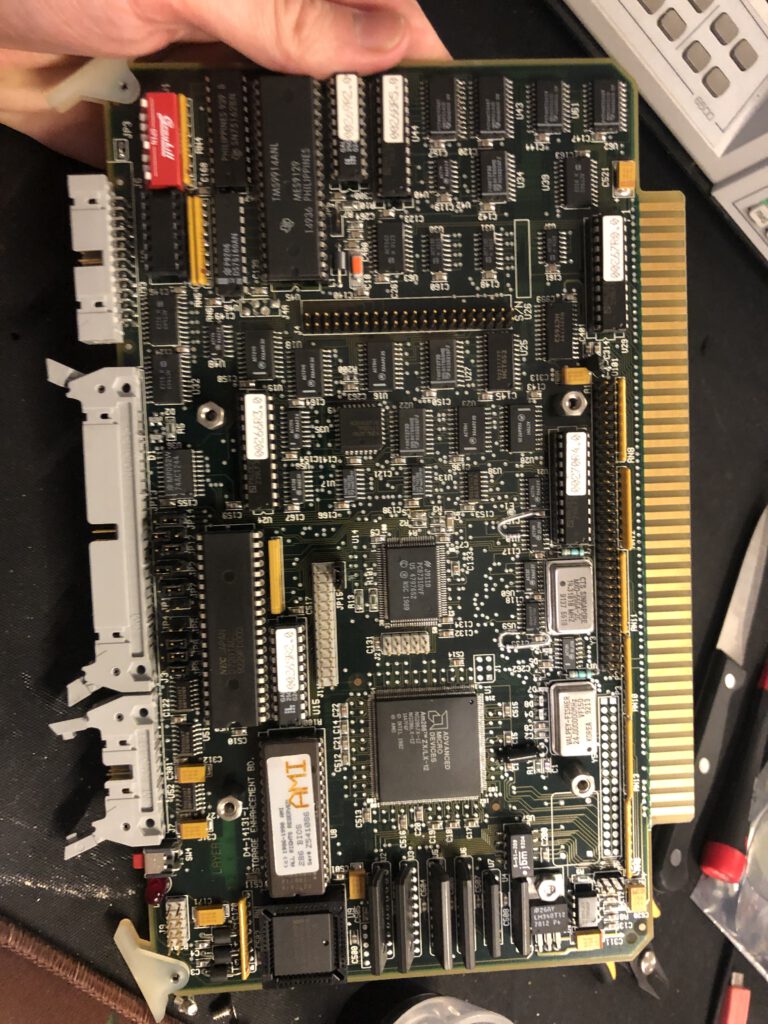
One of the unlisted ones has a hard drive on it, and underneath it a 286, bios chip and more. It seems there might be a DOS capable computer in this scope. I am a little less happy with a hard drive as I guess it might be dead after 25 years.
The other unlisted one has an TMS320, a DSP chip, and some support logic. All in all quite some interesting components and a lot of different CPU architectures in one machine.
As I saw no obvious faults like bulging capacitors, leaking batteries or such, let’s turn it on.
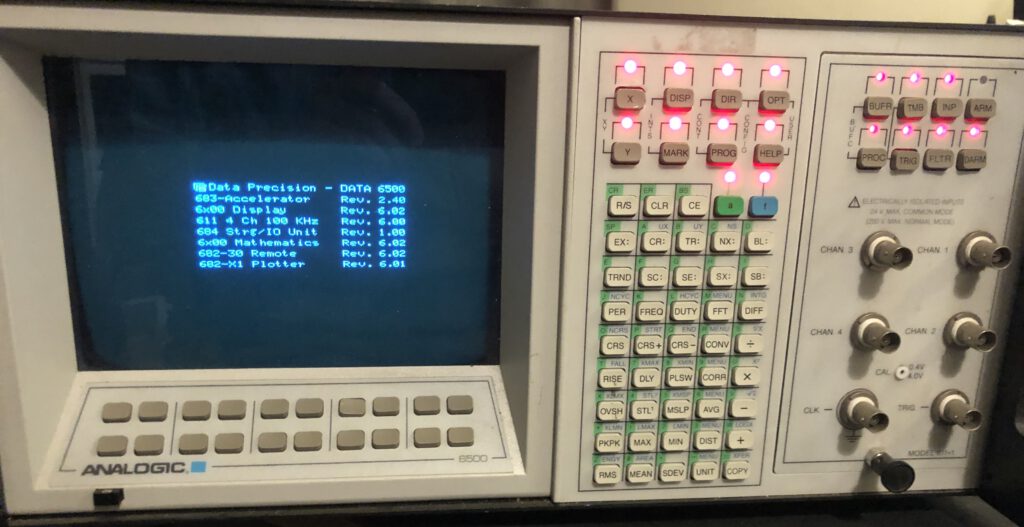
And that seems all it does, a screen showing all components installed and a version number and nothing more. The buttons don’t do anything and almost all LEDs light up. Time to debug it :D
Hmm, smoke
As it does list all the installed cards, I decided to remove a card at a time to see if that perhaps helps. If it does, I would know what card causes the issue. Removing the DSP card did not help, removing the hard drive card however makes it boot and show a few traces, nice!
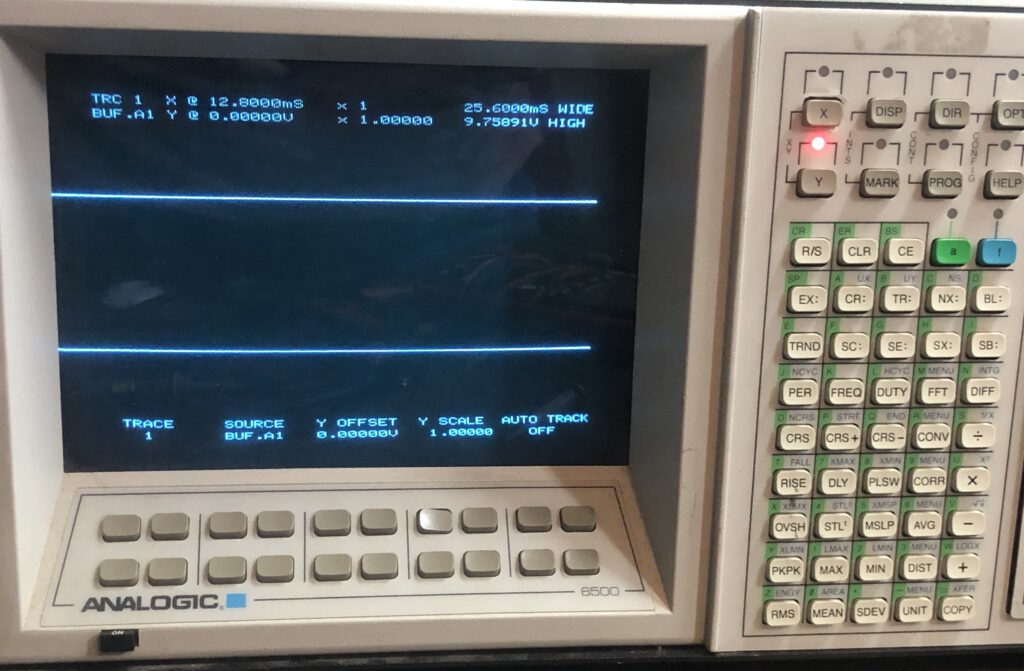
The whole machine seems quite usable without the hard drive card, I played around a bit, installing it without the HDD for example, but no cigar. And suddenly smoke.
When testing and plugging in the cables I made a small mistake. I plugged the keyboard cable in the HDD board instead of where it should plug into. The only cable that fits in 2 places and of course I mess it up. I smelled some smoke and quickly turned it off, but sadly the scope now completely refuses to boot. Well time to take the scope apart completely and see how bad it is.
An even better look inside
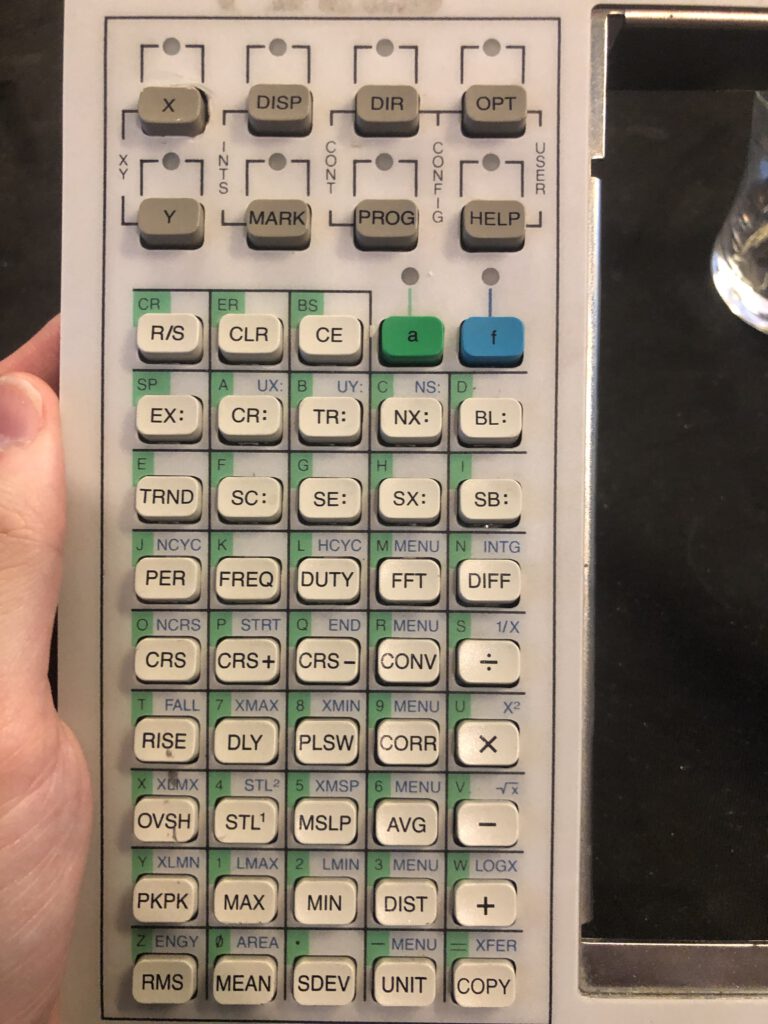
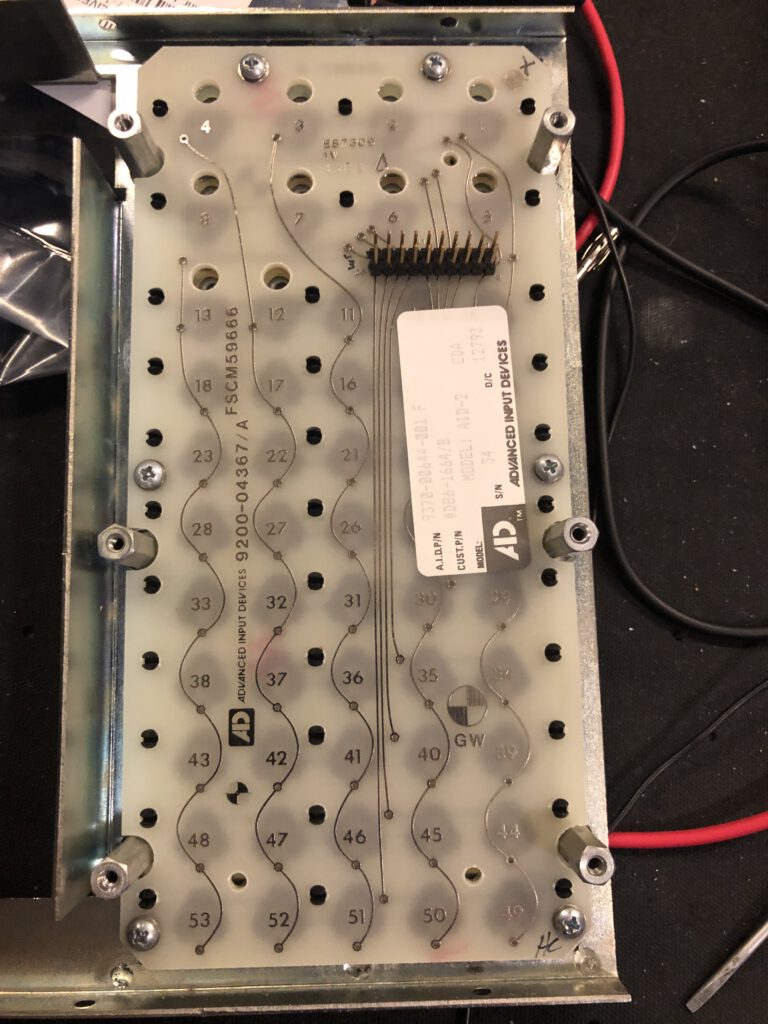
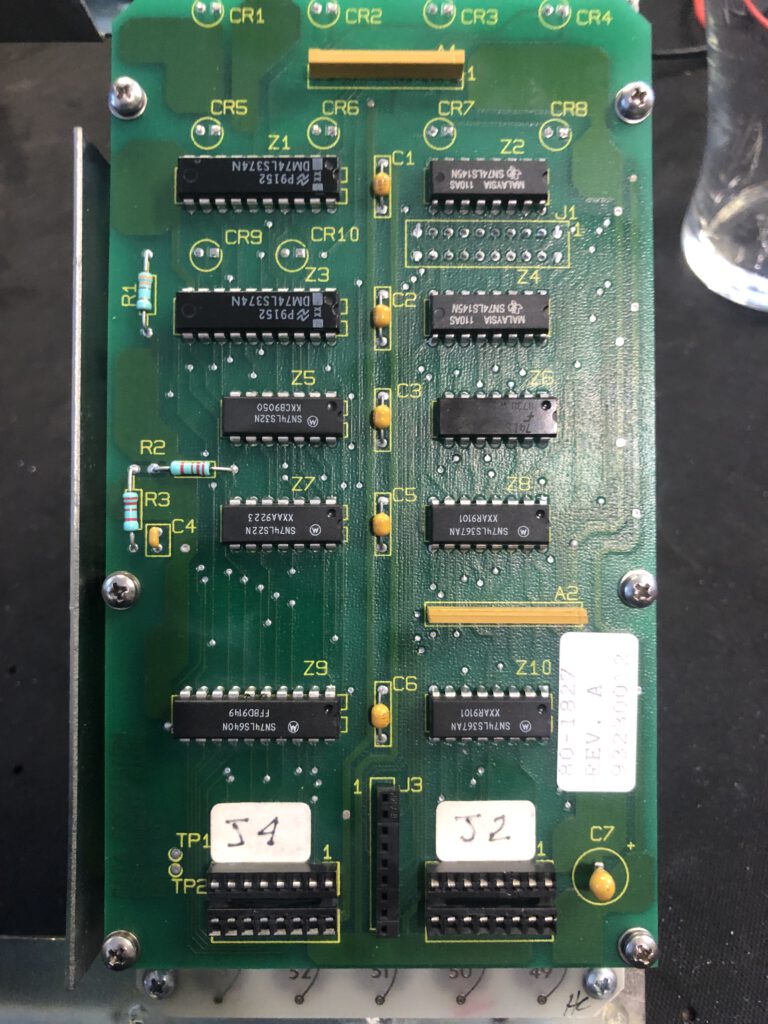
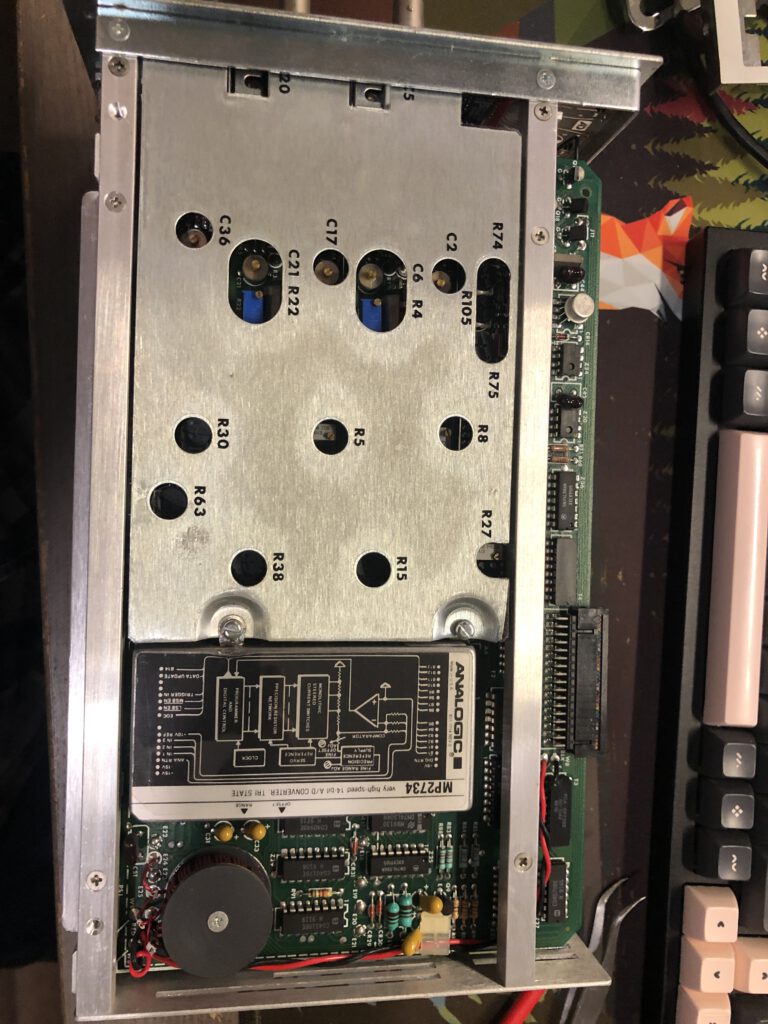
A good amount of screws later and the scope is almost completely apart. The keyboard smells like smoke, but the rest seems fine. This also gives me a chance to look at the module that handles the inputs. this seems user swappable, but replacing it looks like quite a bit more work then just pulling it out like the older Tektronix scopes. A look, or more accurate, a smell of the keyboard PCB and I indeed blew something up. I looked at the traces and replaced the IC’s closest to the connector as they seem to be the most likely to be damaged.
And guess what, that fixed that whoopsie at least. I also found out that if I wait long enough eventually the machine seems to give up on the hard drive and shows it’s non working.
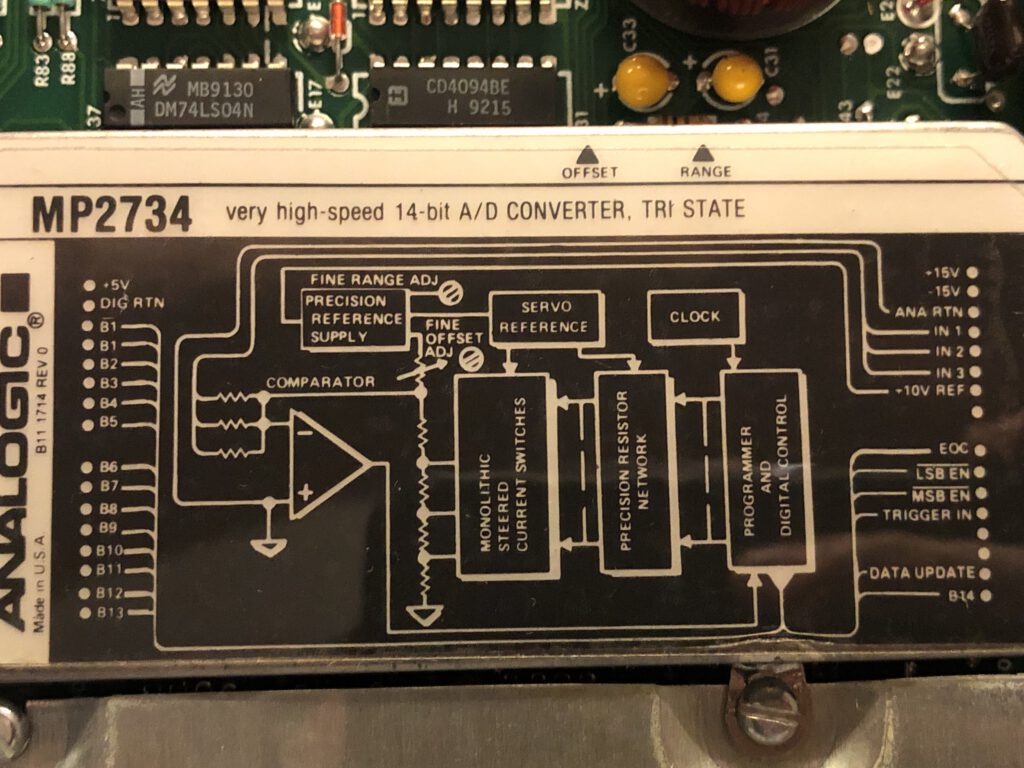
It takes a while to give up on that drive, but after that I can use it! Without hard drive but hey, good enough. Some poking around and I seem to be able to show a trace based on the output of a signal generator. And if I disable the trigger, it indeed stores the trace. Perfect. Compared to a more modern scope, or an analog scope from a brand like Tektronix, the controls are not exactly intuitive. Next issue, a manual, but first, a few pictures of the analog module.
Getting a manual
A look around the all knowing internet revealed other people looking for a manual, but no manual. I decided to just email Analogic. The company is still around, though they stopped making measurement tech and are mostly in medical and x-ray business. I doubt they’ll react, let alone have that manual still somewhere in an archive.
I was wrong.
A day layer I got a reply with a manual, and after some emails back and forth also a service manual and more. Talk about amazing service! With the amount of buttons and user interface, having the manual is extremely helpful. Looking at the manual, this scope is capable of some pretty fun things. It can calculate common things like rise time, count the cycles in a waveform and other things a modern scope can do. But it’s also capable of doing more complex math like an FFT and it can be fully programmed, for example to do multiple operations on a waveform and store the results on floppy or hard drive. It seems very much aimed at automating a measurement setup in a lab.
I got asked to not share the manual online, but sharing with someone directly is OK. So if you got this or a similar machine, throw me an email if you need the manual.
Hooking up a PC
The manual does state something interesting. The hard drive card should boot “something” that can handle DOS commands. It indeed seems that that card might run DOS or something similar. That would be pretty amazing. I reckon the HDD is toast, but can’t hurt to hook up a computer and see what it does.
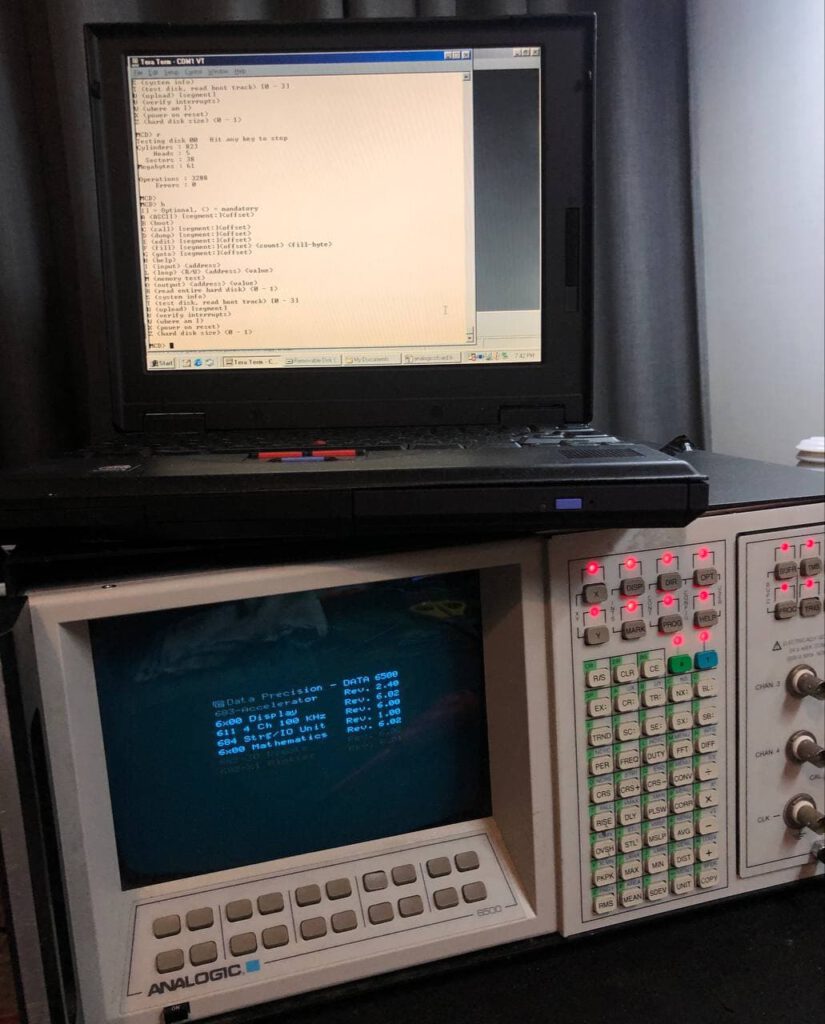
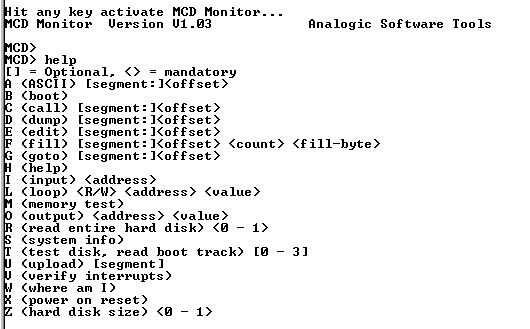
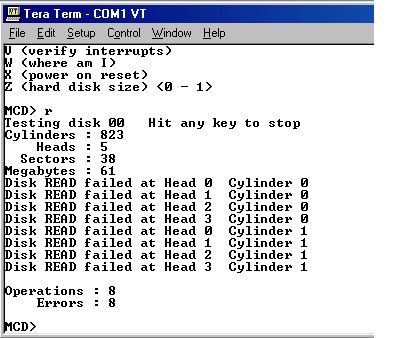
And indeed, it does talk. There is no working DOS or anything, but at least the monitor tool works! The monitor tool can be used to test the hard drive, jump to addresses and poke around in the computer board. As expected, the drive is gone but at least this was a little interesting to play around with :)
Using the scope
With all of that settled, let’s use this scope! In terms of bandwidth, the plugin I got is limited to just 100Ksps, or maybe 50Khz maximum. The upside is that it’s a 14 bit high resolution plugin. For audio or fairly slow sensors this is quite useful but the higher speed plugin would be needed to make this a nice scope. And a less loud fan would be nice, though that issue is common in 90s equipment like this :(
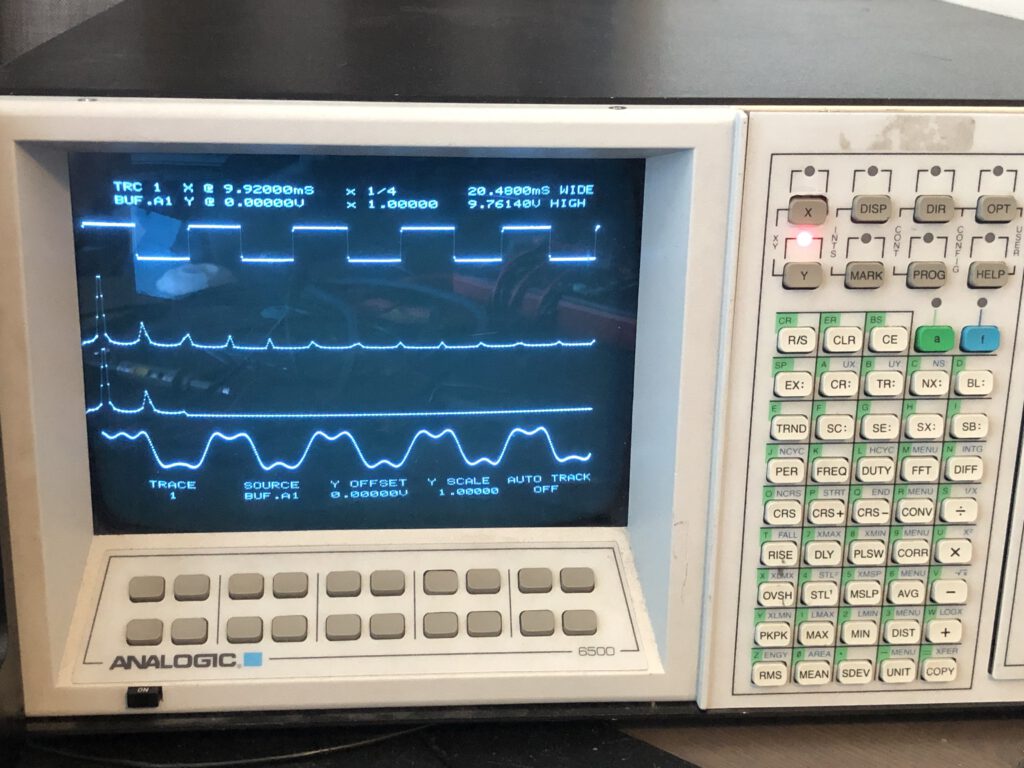
Playing around a little with 3 channels and a realtime FFT gave me this nice overview.
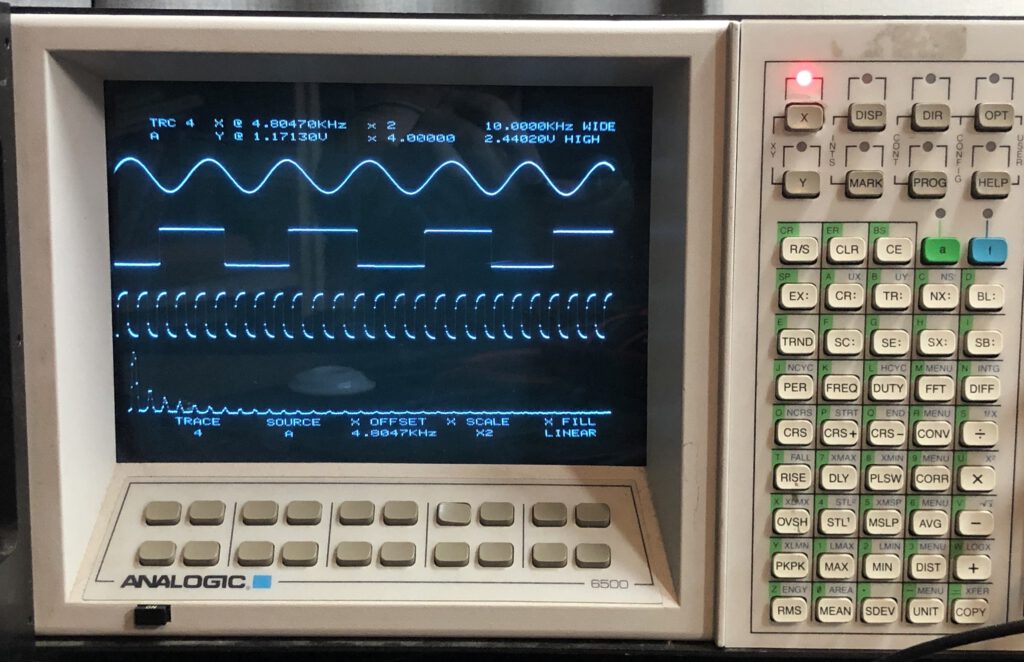
One interesting thing to note is that the scope can show 4 buffers, not traces. A buffer can be a trace but it can also be the result of a calculation, like the FFT shown. This is very useful when you consider the fact that this scope is very programmable. You can add a program to do certain calculations on the buffers with the measured info and store it in a new buffer.
Programmability
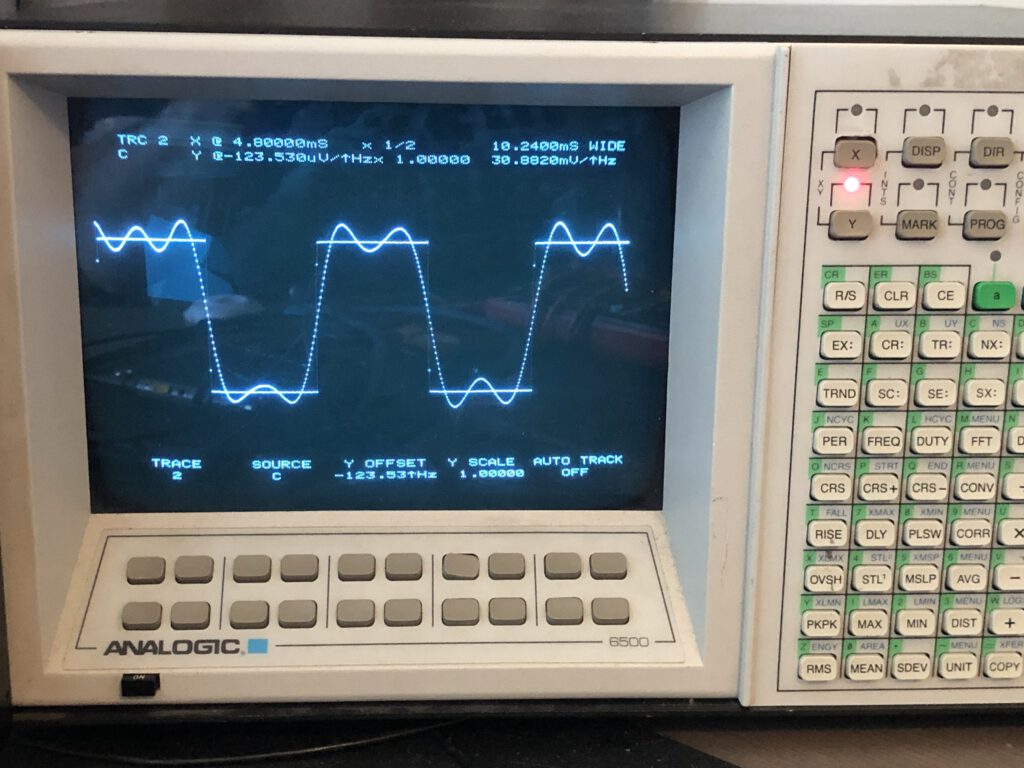
So about that programmability, let’s try one of the small examples in the manual. One of the examples listed is to calculate an FFT over a waveform, remove most harmonics from it and calculate an inverse FFT to get the waveform without those harmonics.
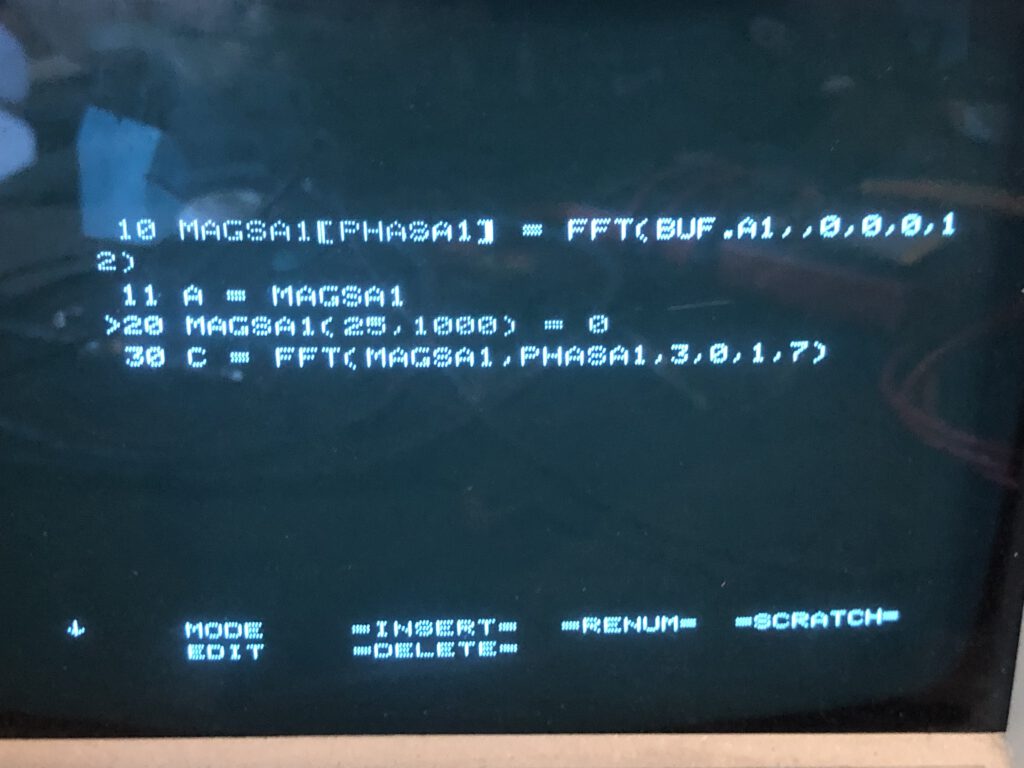
The program is just a few lines. As I have to enter it via the front panel I also don’t want more then just a few lines :(
And there we go. Square wave goes in, an FFT is calculated. all but the second harmonic are removed and the new waveform is calculated. When overlayed the difference is nicely visible. I can imagine this being really handy when needing to clean up the signal of a sensor or such.
This is just a small program, but the scope supports quite some things, here is a snippet showing something that almost resembled BASIC.

Even compared to a modern scope, being able to program it this way is really amazing not something most modern scopes can do without a PC attached.
Conclusion
I saw this scope online for cheap and though it looked pretty funky with that keypad and boy did it deliver. A fully programmable scope from an unknown brand with some really nice internals. It was really fun going down the rabbit hole of figuring out how this machine works and what it all can be used for. For me the 100Ksps input speed is the biggest limitation, there apparently are faster plugins which would make this a really nice scope even in 2021.
A huge thanks goes to Analogic support, who have been super helpful in finding manuals and even service manuals. Sadly the HDD files where not to be found, but the scope works good enough without it.
I hope you enjoyed this look at this weird fun bit of tech, and if you did, consider sending me a coffee!


Those Conner peripherals drives often have some basic diagnostics built in via a TTL Serial header, there’s a menu system too.
There is a very common problem with them too, they suffer ‘stiction’ which is the heads sort of stick to the platters and stop it spinning.
The redneck way to revive it is to hold the drive flat in your hand and give it a well timed ‘flick’ of the wrist to get inertia to spin the platters as you power it on, that’ll often free up the platters and at least allow you to run it up for long enough to get data off it.
Hope this helps.